Showing posts with label Bracelets. Show all posts

Thursday, October 15, 2020

Woven Bracelets - Straw Weaving Method


Woven bracelets made with the straw weaving method are easy to make and fun to wear.

As to fiber choices for weaving cuff bracelets, linen was my first choice as it stays cool even in hot weather and linen is incredibly strong and long lasting. The linen I ended up choosing is grown in Normandy, wet spun in Belgium, and available in Natural and Bleached White, plus in many multi ombré colors hand dyed in the USA. A few tonal and solid colors are available as well. 

In addition to the colors options shown on the video, lots of new colors are now available:
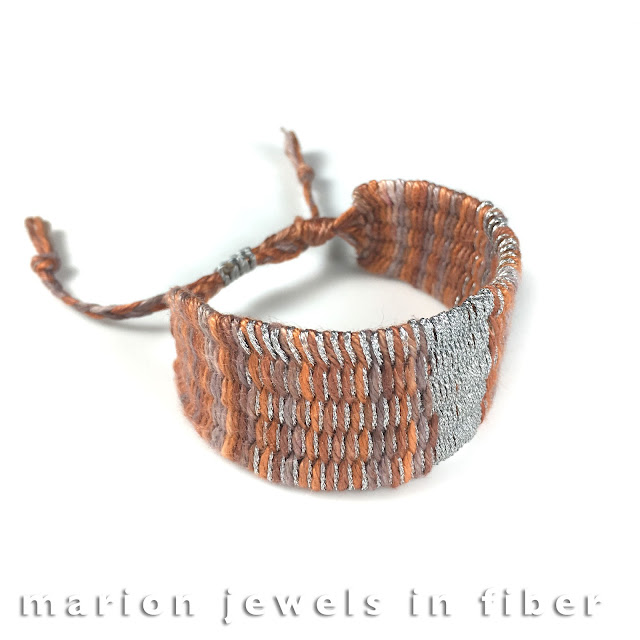
Woven Bracelets - Straw Weaving Method

Copper Canyon Fil de Lin and Rich Silver Metallic Twisted Cord


Woven Bracelets made with the Straw Weaving Method

Marina Variations Fil de Lin and Rich Silver Metallic Twisted Cord


Woven Bracelets made with the Straw Weaving Method
Light Peacock Fil de Lin and Light Aurora Borealis Metallic Twisted Cord
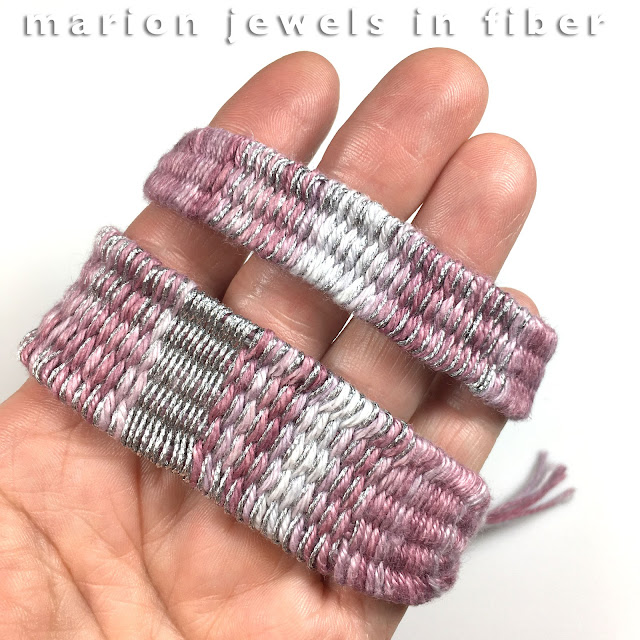


Woven Bracelets made with the Straw Weaving Method

Snowberry Fil de Lin and Rich Silver Metallic Twisted Cord


More vivid colors are also available and the linen yarn can also be used for multi stand bracelets, and bead crochet bracelets...

Woven Bracelets made with the Straw Weaving Method

Cha Cha Fil de Lin and Dark Aurora Borealis Metallic Twisted Cord
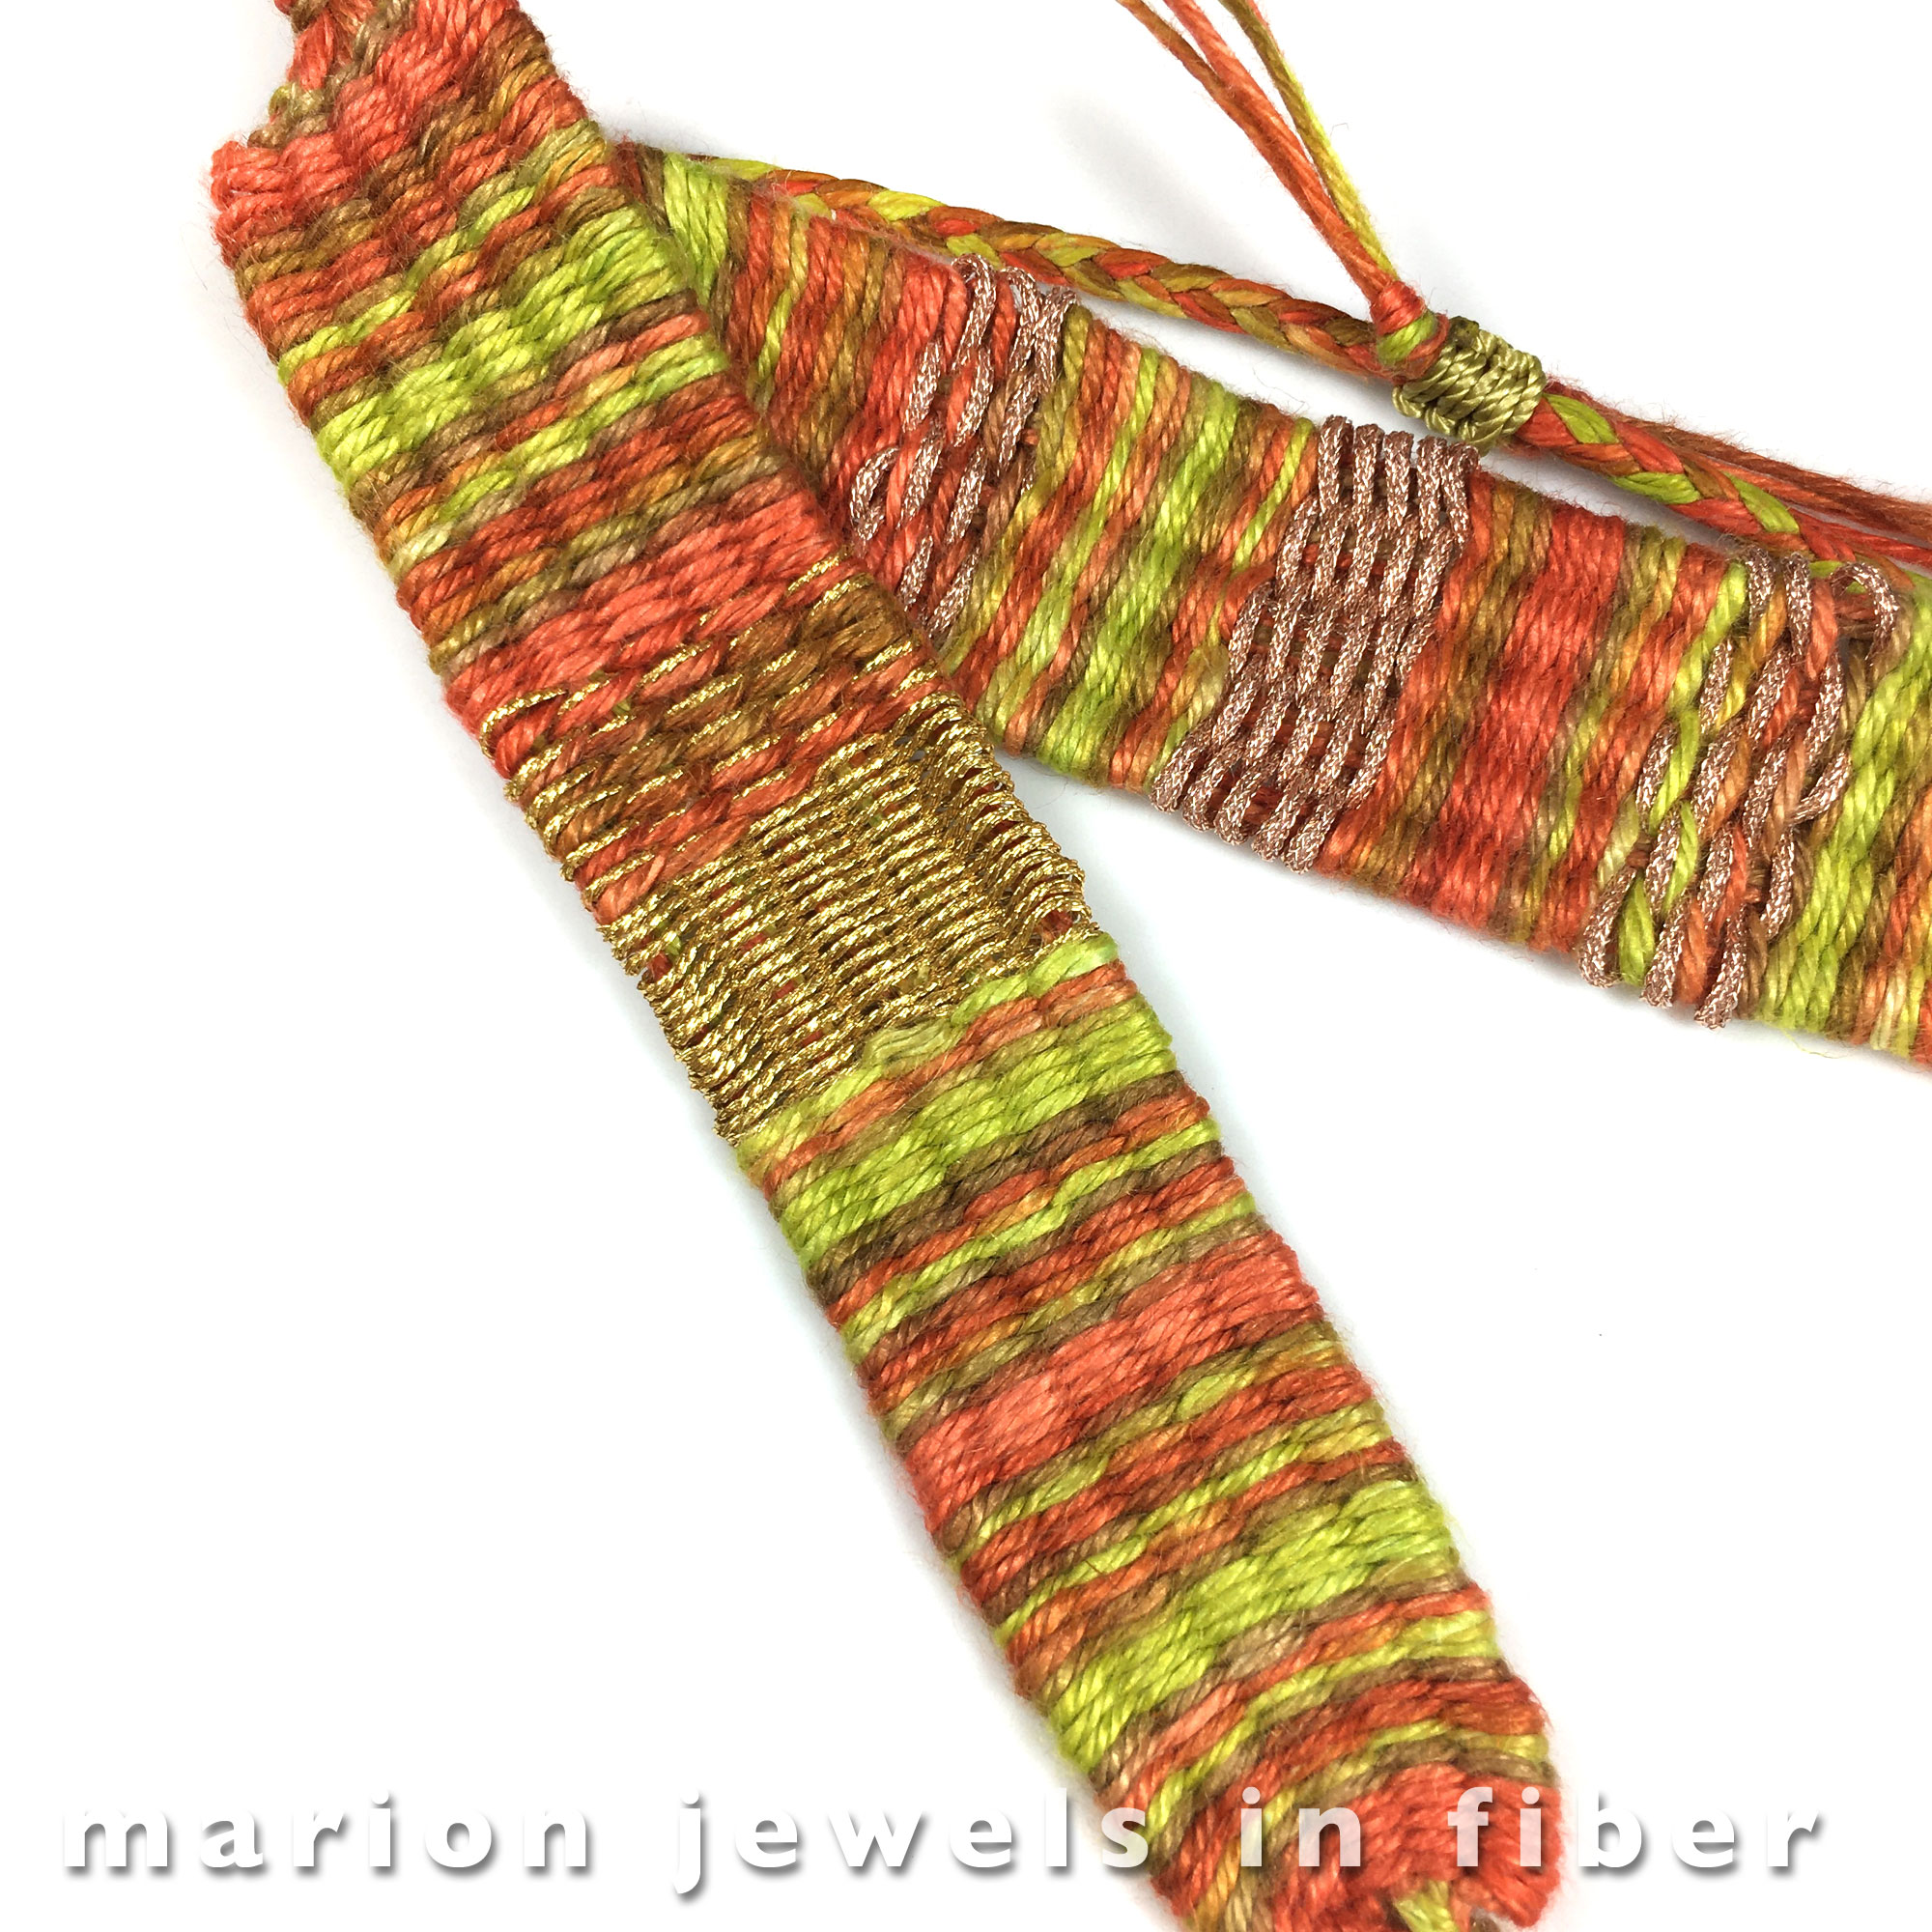

Linen Woven Bracelets - The Straw Weaving Method


Samba Fil de Lin with Rich Gold Metallic Cord or Copper Metallic Braided Cord


Check the tutorial and get a starter kit HERE.

Check the linen yarn options HERE.


Saturday, December 7, 2019

Multi Strand Bracelets Variations - Rules are Made to be Broken

Multi Strand Bracelets with Floating Beads and C-Lon Tex 400 Bead Cord


I have been enjoying making these bracelets. There are so many possibilities... as to beads and cord colors... And the pattern can be changed, rules are made to be broken. Here are some variations showing what's possible and how to deal with unanticipated occurrences.

When I first encountered etched beads, I was not sure if I would like them... I have since fallen in love with them. However I encountered a challenge: the bead holes of the etched beads are larger than most other Czech Fire Polished Beads, and the beads were sliding around the C-Lon Tex 400 Bead Cord... But hey I still wanted to work them into the design... The solution was to frame the larger holes etched beads with other beads with smaller holes.

This bracelet is made with 4mm Czech Fire Polished beads, Etched Gold Ore and Indigo Gold Ore. The etched gold ore beads were a bit loose on the C-Lon Tex 400 Bead Cord, so to keep them from sliding around I boxed them in with the Indigo Gold Ore beads. Some of the cords have 3 beads, 1 Etched Gold Ore in the middle with one Indigo Gold Ore on each side, keeping the beads in place. Other cords have 5 beads, 3 Etched Gold Ore in the middle with one Indigo Gold Ore on each side.

Multi Strand Bracelets with Floating Beads and C-Lon Tex 400 Bead Cord

The C-Lon Tex 400 Bead Cord colors are AGO Antique Gold, IND Indigo, and GR Grey.

This next bracelet is a variation of the bracelet shown above with NK Nickel instead for GR Grey and added beads, Etched Argento, also with larger holes, surrounded and blocked by Crystal Argento. The Etched Argento and Crystal Argento beads are loaded onto the Nickel cord. The Etched Gold Ore and Indigo Gold Ore ones are loaded onto the Antique Gold and Indigo C-Lon Tex 400 Bead Cords.


Multi Strand Bracelets with Floating Beads and C-Lon Tex 400 Bead Cord

Other options I like: 6 cords with 3 beads, 3 cords with 3 sets of 3 beads, so 9 beads altogether. 

For more info on these bracelets, go to the previous post. 

Find the beads listed here –> 4mm Czech Fire Polished Beads


Multi Strand Bracelets with Floating Beads and C-Lon Tex 400 Bead Cord


To make these bracelets, get the tutorial, C-Lon Tex 400 Bead Cord, 4mm beads, and a few tools and supplies. 

–> More Info, Kits, Tutorial, Tools


Friday, May 25, 2018

Turkish Flat Bead Crochet Bracelet Tutorial with Metallic Cord

Turkish Flat Bead Crochet Bracelet Tutorial with Metallic Cord


This is a new version based on a very popular crochet bracelet I first wrote about in 2012. Please refer to the original post of December 16, 2012 for an alternate tutorial. A brand new Metallic Braided Nylon Cord is featured in this new tutorial with coordinated beads and buttons. However the crochet process is the same and it uses only chain stitch and single crochet stitch, so it is easy to learn.


Turkish Flat Bead Crochet Bracelet Tutorial with Metallic Cord


Here are the materials you will need to make 2 bracelets:

- 1 Spool of Metallic Braided Nylon Cord - 0.9 mm in Ø - Gold, Silver or Copper - 6 m/6.5 yd
- 2 Buttons - Antique Silver, Brass or Copper
- Miyuki Duracoat Galvanized Seed Beads - Size 6 ~ 100 beads
- 1 Tapestry Needle Size 20

Or you can get a kit HERE with all the supplies listed above.

And why 2 bracelets? It is because each bracelet takes about 3 yard of cord. so there is enough on the spool for two bracelets...

Tools needed:
- 1 Crochet Hook - Amour Size 0, Clover Soft Touch 0, or Lacis 3
- Thread Burner or Zapper - Available Here
- 1 Bead Mat


Turkish Flat Bead Crochet Bracelet Tutorial with Metallic Cord - Step 1

1. With the thread burner, melt the end of the cord and make a pointed end, just like a needle. 


Turkish Flat Bead Crochet Bracelet Tutorial with Metallic Cord - Step 2

2. Load about 50 beads. 


Turkish Flat Bead Crochet Bracelet Tutorial with Metallic Cord - Step 3

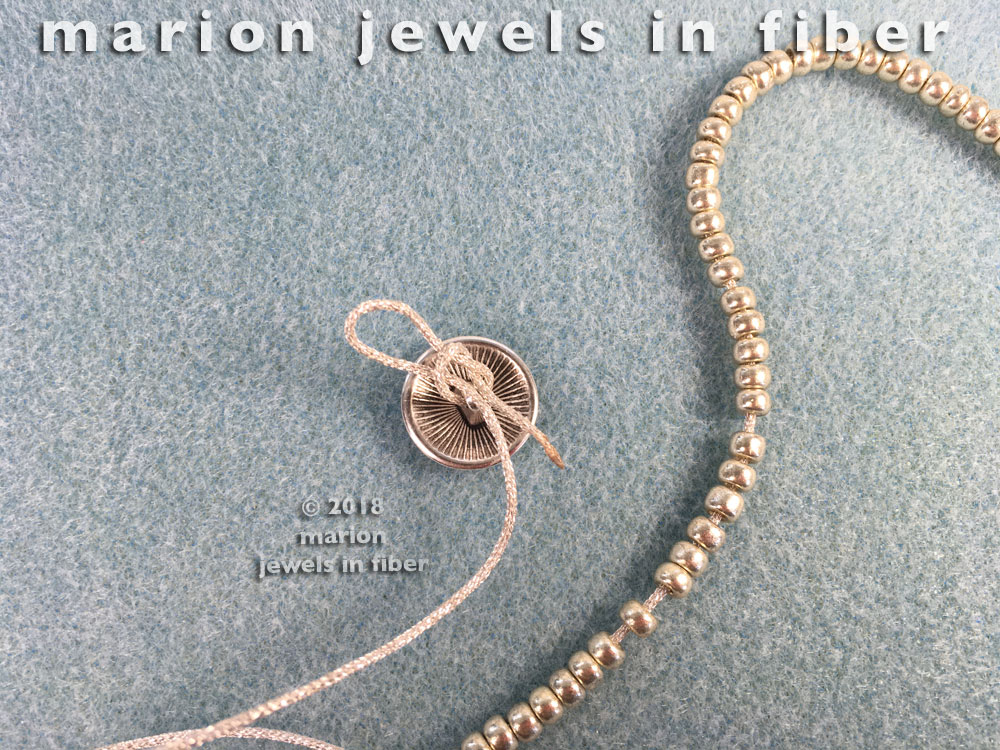
3. If you already know which button you will be using, put to cord though the shank. If you are not sure which button you will use, you can wait to attach it until later. 


Turkish Flat Bead Crochet Bracelet Tutorial with Metallic Cord - Step 4

4. Make a slip knot. 


Turkish Flat Bead Crochet Bracelet Tutorial with Metallic Cord - Step 5

5. Insert the crochet hook into the slip knot.  


Turkish Flat Bead Crochet Bracelet Tutorial with Metallic Cord - Step 6

6. Crochet 2 chain stitch. Slide 1 bead down. Crochet 1 chain stitch.


Turkish Flat Bead Crochet Bracelet Tutorial with Metallic Cord - Step 7

7. Turn the work around and make 1 single crochet stitch right into the first chain stitch. Slide a bead down and make a chain stitch. 


Turkish Flat Bead Crochet Bracelet Tutorial with Metallic Cord - Step 10

8. Turn the work around. Make 1 single crochet stitch right into the previous bead (not the one you just added, but the one already in on the other side). Slide 1 bead and add a single crochet chain stitch. 

Repeat this step until you get the bracelet length you want. 


Turkish Flat Bead Crochet Bracelet Tutorial with Metallic Cord - Step 8

9. Tighten the button in. With the thread burner cut the cord leaving a 2mm tail. 


Turkish Flat Bead Crochet Bracelet Tutorial with Metallic Cord - Step 9

10. With the thread burner melt the end and press it in with your finger or the thread burner cap. If you have never done this before, test this step first on a small piece of cord before proceeding on the bracelet. 


Turkish Flat Bead Crochet Bracelet Tutorial with Metallic Cord - Step 11

11. Make the button loop with single chain stitches. 


12. Cut the cord with the thread burner. Melt the end and press it flat in with your finger or the thread burner cap so it will fit into the tapestry needle Size 20. Stitch the loop back in. Cut the cord leaving a tail about 2-3mm long. Melt the tail and press it into the crochet. Doing this close to one of the bead will make the burn mark less noticeable. 


Turkish Flat Bead Crochet Bracelet Tutorial with Metallic Cord


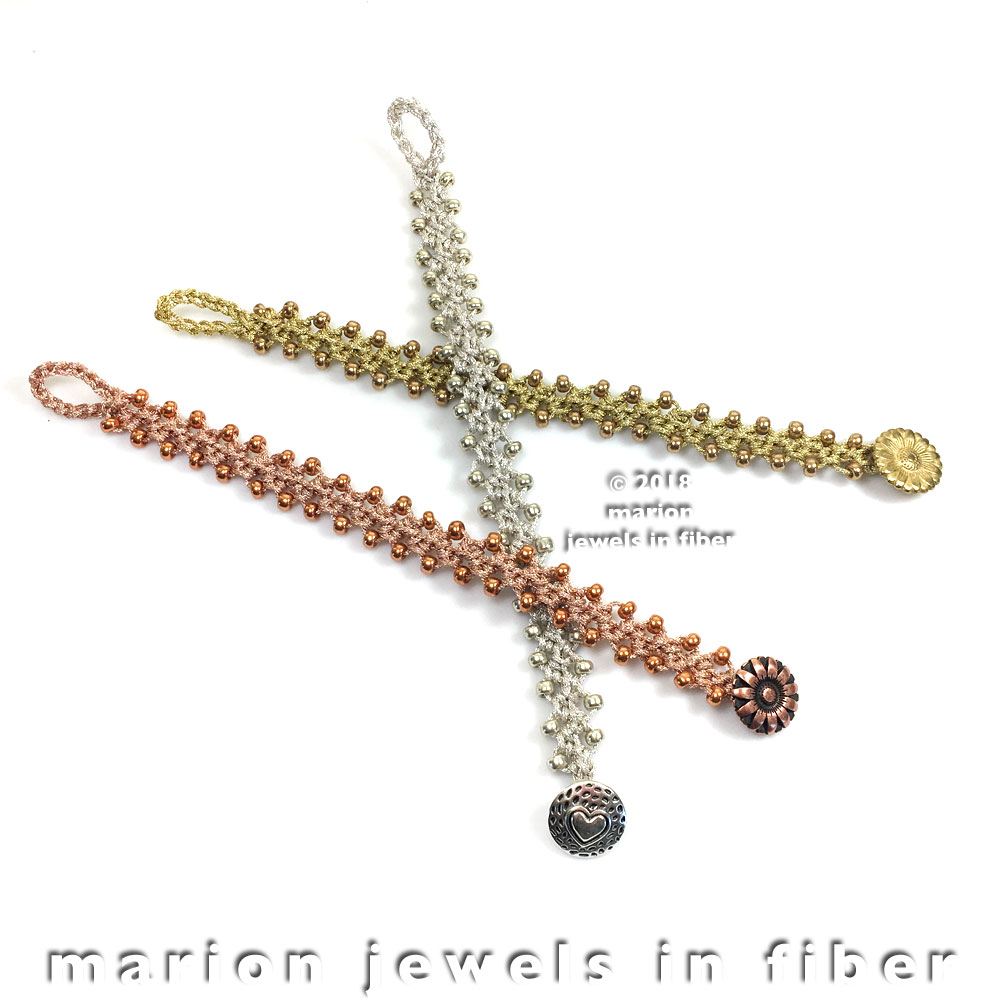
The first bracelet is now ready to wear. Repeat these steps for the second bracelet and give the second one to your best friend or daughter... These bracelets are easy to wear and light weight. They can be stacked, worn in water, and washed when needed. 


References

Turkish Flat Bead Crochet Bracelet with C-Lon Tex 400 Bead Cord  - Go here to see this step by step tutorial 


Materials & Tools


Thursday, May 17, 2018

Celtic Bracelet DIY Tutorial | Knotted Bracelet made with Pretzel Knots, Josephine Knots, or Carrick Bend Knots

Celtic Knotted Bracelet DIY Tutorial | Bracelet made with Pretzel Knot, Josephine Knot , or Carrick Bend Knot


These bracelets are made with a repeated knot pattern. The actual knot follows a braided pattern and is sometimes called a Carrick Bend, a Josephine Knot, a Pretzel Knot, or Pretzel Link depending on which tradition you follow. The knot is easy to do once it is mastered. 

Metallic Braided Nylon Cord

For these Celtic Knotted Bracelets, I followed the DIY Ombre Knotted Bracelet Tutorial written by Beth on the Remarkably Domestic Blog with a few differences shown below. The Ombre Knotted Bracelet is made with Chinese Knotting Cord in Medium Weight available HERE. Whereas I used Metallic Braided Nylon Cord (Copper, Silver, and Gold) for the first bracelet I made shown at the top. Then I played around the the Metallic Cord and Black Chinese Knotting Cord. I really like how it emphasizes the Celtic look of the knot. I also altered the way the button is attached and how the cords are ended, using a thread burner rather than glue. It is nor permanent and faster. 

Here is how to make these Celtic Knotted Bracelets:

- 4 yard of Metallic Braided Nylon Cord - 0.9 mm in Ø
- 2 yard of Black Chinese Knotting Cord - 1mm Ø
-1 Heart Button - Available Here (8th down the page)
- A Thread Burner - Available Here

If you want to make all three bracelets, get a material kit here.

Cut two metallic cord and one 1mm chinese knotting cord in 2 yard lengths. 

Celtic Bracelet DIY Tutorial | Knotted Bracelet made with Pretzel Knots, Josephine Knots, or Carrick Bend Knots

Celtic Bracelet DIY Tutorial | Knotted Bracelet made with Pretzel Knots, Josephine Knots, or Carrick Bend Knots

Celtic Bracelet DIY Tutorial | Knotted Bracelet made with Pretzel Knots, Josephine Knots, or Carrick Bend Knots

Celtic Bracelet DIY Tutorial | Knotted Bracelet made with Pretzel Knots, Josephine Knots, or Carrick Bend Knots

Celtic Bracelet DIY Tutorial | Knotted Bracelet made with Pretzel Knots, Josephine Knots, or Carrick Bend Knots

Celtic Bracelet DIY Tutorial | Knotted Bracelet made with Pretzel Knots, Josephine Knots, or Carrick Bend Knots

Celtic Bracelet DIY Tutorial | Knotted Bracelet made with Pretzel Knots, Josephine Knots, or Carrick Bend Knots

Celtic Bracelet DIY Tutorial | Knotted Bracelet made with Pretzel Knots, Josephine Knots, or Carrick Bend Knots

Celtic Bracelet DIY Tutorial | Knotted Bracelet made with Pretzel Knots, Josephine Knots, or Carrick Bend Knots

Celtic Bracelet DIY Tutorial | Knotted Bracelet made with Pretzel Knots, Josephine Knots, or Carrick Bend Knots

Celtic Bracelet DIY Tutorial | Knotted Bracelet made with Pretzel Knots, Josephine Knots, or Carrick Bend Knots

Celtic Bracelet DIY Tutorial | Knotted Bracelet made with Pretzel Knots, Josephine Knots, or Carrick Bend Knots

Celtic Bracelet DIY Tutorial | Knotted Bracelet made with Pretzel Knots, Josephine Knots, or Carrick Bend Knots

Celtic Bracelet DIY Tutorial | Knotted Bracelet made with Pretzel Knots, Josephine Knots, or Carrick Bend Knots

Celtic Bracelet DIY Tutorial | Knotted Bracelet made with Pretzel Knots, Josephine Knots, or Carrick Bend Knots

Celtic Bracelet DIY Tutorial | Knotted Bracelet made with Pretzel Knots, Josephine Knots, or Carrick Bend Knots

Celtic Bracelet DIY Tutorial | Knotted Bracelet made with Pretzel Knots, Josephine Knots, or Carrick Bend Knots

The bracelet is all done. The silver and black one shown below has 14 consecutive knots and measure approximately 7 inch (17.5 cm). The copper and black one has 15 knots and measure 7.5 inch (19 cm). The gold and black one, 16 knots, 8 inch (20 cm). Your measurement may vary a bit depending on how tightly you tie the knots.

Celtic Bracelet DIY Tutorial | Knotted Bracelet made with Pretzel Knots, Josephine Knots, or Carrick Bend Knots


I hope you had a good time making this bracelet. Now try alternative materials, thicker or thinner cords, other colors... Find out what you like best, play around... This bracelet below is made with the 3 metallic colors Copper, Silver and Gold...


References


Materials

Heart Buttons - 8th down the page


Sunday, August 23, 2015

Kumihimo Bracelet Duo & Necklace Plus Continued - Santorini Colorway


Kumihimo Bracelet Duo & Necklace Plus - Santorini

In the previous post, the colorway featured was Place Vendome. 
Here are the photos of the kumihimo bracelets and necklace done with the Santorini colorway.

Oh, and why Santorini? The colors reminds me of the Minoan murals in Crete. Then I thought of the lost Minoan civilization of Atlantis, but the Atlantis has a bit too much attached to its name, so Santorini seemed much more appropriate as a name as it is the island where Atlantis may have been, before being destroyed when its volcano exploded… 


Kumihimo Bracelet Duo & Necklace Plus - Santorini
Here is the materials for the Kumihimo Bracelet Duo…

Kumihimo Bracelet Duo Kit

The start of bracelet #1


Bracelet #1
Left shows the back side of the bracelet, nice a soft against the wrist with no beads.
Right shows the front side with the small bead ridge in the center. 

Kumihimo Bracelet Duo - Santorini

Here are the two bracelet done with this kit. 
Bracelet #1 on the right; bracelet #2 on the left. 


What's intriguing is the texture and color differences between these two bracelets. It is also possible to switch and start with bracelet #2 first, then the color arrangement would be changed. 
Kumihimo Bracelet Duo  - Santorini

Bracelets stacked


Kumihimo Necklace Plus - Santorini


The Necklace Plus makes a long necklace and a bracelets, or two necklaces, your choice. 
A handmade glass bead can be added. 


 Kumihimo Necklace Plus - Santorini

The large bead can sometimes slide on over the clasp and beads. 


Kumihimo Necklace Plus - Santorini

Other times, depending on the actual diameter of he inside hole, the beads needs to be integrated into the braid. Each bead is handmade one at a time, so inside diameter are not exact. 


Kumihimo Necklace Plus - Santorini - Focal Glass Bead

The borosilicate bead contains silver globs and dichroic fragments within, giving it life when it moves. 

This pieces were braided with Rayon Bouclé that is space dyed, C-Lon Bead Cord, 4mm Magatamas, these beads are in the form of a droplet, Size 8 seed beads for bracelet #1, gold tone magnetic clasps covered by Peyote Sleeves. The focal large glass bead is an optional add on to the kit. > Get a kit