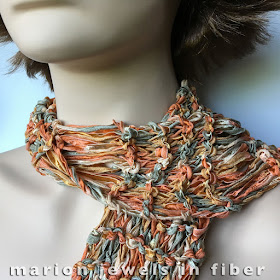
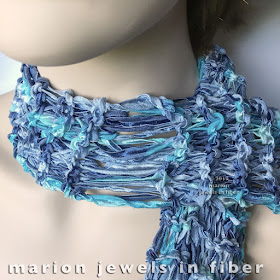
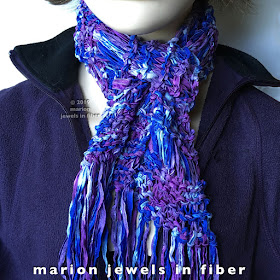
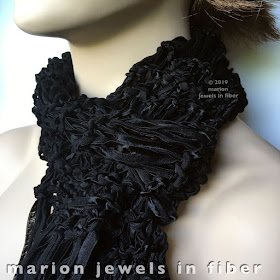
This is a super easy garter stitch pattern requiring only knit (plain) stitch, and no purl rows. It makes a silkie, drapey scarf. The drop stitch pattern show off the silk ribbon and requires only one skein. Try it, here is the pattern!
Scarf measures approximately 3.5“ wide by 72” long [9 cm x 182 cm]
1 Skein of Silkie - Hand Dyed Silk Ribbon > available HERE
Knitting Needles Size 17 [12.27 mm]
A friend of mine made the first couple of scarves. She used needles size 13, but when I tried to duplicate her pattern, with needles size 13, my knitting was too tight and the scarf lost its drape. I tried with size 15, but it was still too tight, size 17 is perfect for me. You may need to adjust your needle size but a looser knit is best for this pattern, so I recommend going with the larger needles. I used Japanese Clover Takumi single point 9 inch bamboo needles. They are light and comfortable to hold. I bought them at Stitches West in February. Let me know if you cannot find them, I will order some for you.
This is Row 6 completed.
Make sure you have 12 stitches back on your needle.
Next Rows: [* Knit 4 rows, then repeat Row 6 and 8] - Repeat until you have either achieved the desired length or you have 12-13 Drop Stitch areas.
If you are adding a fringe, stop when you still have some ribbon leftover for the fringe. 6 yd 4 inches or 5.6 m yields a 5 inch fringe.
I do not like counting rows... So to recognize when all knit rows between the yarn overs have been completed, count the garter stitch ridges, 3 on one side and 2 on the other, that's when you are ready for the next yarn over row (Row 5).
Last Rows: End with 4 knit rows. Bind off in knit stitch.
Finishing: Weave in the ends, or incorporate them into the fringe.
Fringes: Cut 22 lengths 10 inch long for 5 inch fringes. Adjust length as needed but plan on 11 lengths per each scarf end.
Fold 1 length. Insert the U in between the end stitches. Pull the 2 ends through the U and pull tight. Repeat for all lengths. Incorporate the ends and trim as needed.
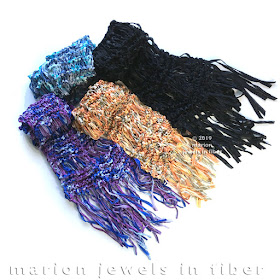
Some of the samples scarves shown here were made with 6 knit rows in between the yarn over rows. The finish scarves made with the additional knit rows are shorter...
About the Silk Ribbon: This ribbon was hand dyed in Thailand and was a one time purchase. It is currently available in full skein in Sunset (top photo), Atlantis (shown in the step by step), Iceland, Midnight Blue, and Obsidian (shown below). It is a silk blend with 45% silk, 38% viscose and 17% nylon. It is available in 75 yd skeins and in 15 yd mini-skeins. This ribbon is also featured in a kumihimo necklace project.
> Silkie Ribbon | Hand dyed Silk Ribbon
> Kumihimo Necklace Kits with Silk Ribbon and 4mm Magatamas
> Pattern - Printable PDFSome of the samples scarves shown here were made with 6 knit rows in between the yarn over rows. The finish scarves made with the additional knit rows are shorter...
About the Silk Ribbon: This ribbon was hand dyed in Thailand and was a one time purchase. It is currently available in full skein in Sunset (top photo), Atlantis (shown in the step by step), Iceland, Midnight Blue, and Obsidian (shown below). It is a silk blend with 45% silk, 38% viscose and 17% nylon. It is available in 75 yd skeins and in 15 yd mini-skeins. This ribbon is also featured in a kumihimo necklace project.
> Silkie Ribbon | Hand dyed Silk Ribbon
> Kumihimo Necklace Kits with Silk Ribbon and 4mm Magatamas

